Yes, you can install pet turf yourself! With the right tools and some basic preparation, it’s a manageable DIY project that can save you money while creating a safe and clean space for your dog. Let’s go through the process step by step, starting with the first and most crucial task—preparing the ground.
Step 1: How Do You Prepare the Ground for Pet Turf?
Prepare the area to ensure the best possible foundation for your pet turf, so it stays in place and functions properly for years.
- Removing Existing Grass or Debris: Clear the area of grass, weeds, and debris using a shovel or sod cutter for larger spaces. This prevents old grass and roots from pushing through the turf.
- Ensuring the Area is Level and Free from Weeds: Ensure the ground is level to avoid shifting or wrinkling turf. Use a rake to smooth the soil, and apply weed killer if necessary to prevent growth beneath the turf.
- Choosing the Right Location for Your Dog’s Activities: Select a spot that suits your dog’s needs—whether for play, potty, or lounging. High-traffic areas may need extra attention for durability.
With the groundwork now complete, you’re all set to proceed to the subsequent stages of your artificial pet turf installation.
Step 2: What is the Best Base for Pet Turf?
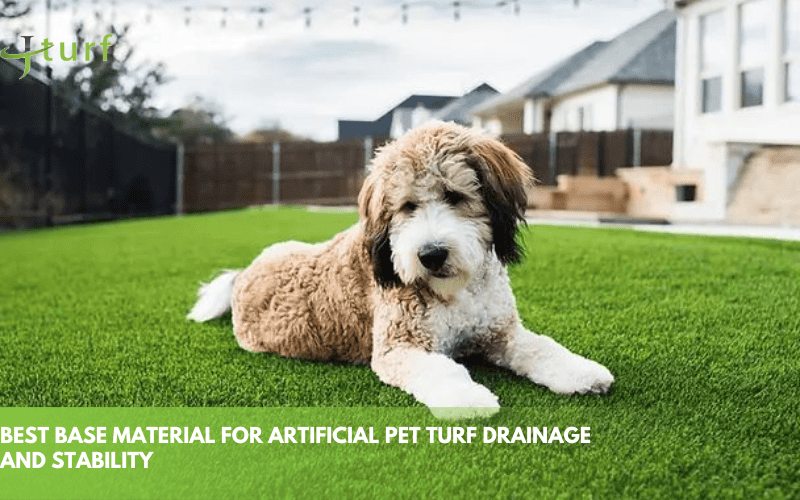
A robust and tightly – compacted foundation layer is crucial for preserving the structural soundness of your artificial pet turf. It prevents the turf from shifting, sagging, or developing wrinkles over time, all of which can be caused by improper support underneath. Additionally, a proper base helps with water drainage—without it, water would pool under your turf, leading to issues like foul odors, bacteria build-up, and even the potential for mold.
By selecting the right base material and ensuring it’s installed properly, you’re setting up your turf for long-term success and creating a safe, comfortable environment for your pet.
Choosing the Right Base Material
When it comes to base materials, two of the most popular and effective choices are decomposed granite and crushed stone. Here’s why:
- Decomposed Granite: This material is ideal because it compacts easily and forms a stable, firm foundation that allows water to drain freely. It’s a highly porous material that allows urine and rainwater to pass through quickly, preventing puddling and maintaining a dry surface. Decomposed granite also helps reduce the chance of weeds growing beneath the turf, which can be a common issue if the base isn’t properly prepared.
- Crushed Stone: It’s harder than decomposed granite and provides good drainage, but it can be trickier to level and compact. If you choose crushed stone, be sure to use a material that is small enough to fit together tightly but large enough to allow water to flow through.
Both materials are affordable and widely available, but decomposed granite tends to be easier to work with for DIYers, especially when creating the necessary level of compaction for your turf.
How to Lay the Base and Compact It
Spread the Base Material: Spread a 2-3 inch layer of decomposed granite or crushed stone evenly across the area using a shovel or rake. Uneven distribution can cause bumps or low spots later.
Level the Surface: By using a board or level to smooth and even out the surface, you ensure a level base that is crucial for preventing the turf from shifting or wrinkling.
Compact the Base: Use a plate compactor or hand tamper to compact the base, ensuring every section is firmly packed, with special attention given to the edges and corners.
Check the Drainage: Spray the surface with water to check drainage. If water pools, further compaction or additional drainage material is needed.
The goal here is to create a firm, compacted base that won’t shift, settle, or cause drainage problems down the line. When done correctly, your base will provide solid support for your turf and maintain its shape and stability even under heavy use by pets.
Final Tips:
- Thickness: Ensure that the base layer is around 2-3 inches thick. If your turf area will have a lot of traffic or if you live in an area with heavy rainfall, you might consider making the base slightly thicker.
- Evenness: Any unevenness will show once the turf is installed, so use a level or a straight board to check the surface.
- Compaction: Don’t skip the compaction step! Without it, your base will not be solid enough to support the turf, and you’ll run into issues down the road, such as turf movement or drainage problems.
By the end of this step, you should have a stable, well-compacted base that will provide solid support for your pet turf, ensuring durability and proper drainage for years to come.

Step 3: Install the Drainage Under Artificial Turf for Dogs
Proper drainage is essential for pet turf systems to ensure water and urine flow away efficiently, keeping the surface clean and hygienic for your pets.
Options for Drainage Layers
There are several effective drainage options to consider for your pet turf system:
Perforated Membrane: A budget-friendly and straightforward option, the perforated membrane allows water to pass through while blocking soil and debris from clogging the drainage system.
DrainCore: An upgraded solution, DrainCore features raised bumps to enhance drainage and airflow beneath the turf. Designed to withstand heavy use, it’s an ideal choice for high-traffic areas, offering effective water dispersion to eliminate puddles and ensure a dry, safe environment.
AirDrain: Similar to DrainCore, AirDrain offers even faster drainage and improved airflow, making it perfect for areas with heavy use or frequent rainfall. But its price is higher.
Tips for Ensuring Water Flows Properly Through the Turf
- Proper Placement of the Drainage Layer: Ensure the drainage layer sits directly under the base material to allow water to flow efficiently through the turf.
- Correct Slope: Ensure your turf area has a slight slope (1-2%) to direct water away from the surface.
- Ensure Proper Compaction: Compact the base material thoroughly to guarantee smooth water flow through the drainage system.
- Check for Blockages: Before covering the drainage layer with turf, test the water flow to ensure there are no blockages in the system.
- Maintain Regular Cleaning: Keep the surface free from debris to prevent clogging and ensure ongoing drainage efficiency.
By following these tips, you’ll create a functional, long-lasting drainage system that helps keep your pet turf dry, clean, and odor-free.
Step 4: Lay the Artificial Grass
This step is crucial for ensuring that the turf looks natural, stays in place, and performs well over time. Here’s how to go about it:
Unrolling the Turf: Unroll the turf over the prepared base and let it sit in the sun for 15-20 minutes before cutting. This helps it relax and reduces wrinkles for a smoother installation.
Seaming Multiple Pieces Together: If using multiple pieces, overlap the edges and use turf adhesive or seam tape. Align the grass blades in the same direction for a natural look and press the seams firmly to eliminate gaps.
Securing the Grass: Anchor the turf using a nail-free system for safety. When using nails, put them every 2 inches around the perimeter and every 2 feet in the center. This helps keep the turf from moving.
Stretching the Turf: Stretch the turf slightly as you secure it to avoid wrinkles, which can cause discomfort and damage over time. A smooth, even surface ensures a comfortable area for your dog.
Step 5: Add the Infill
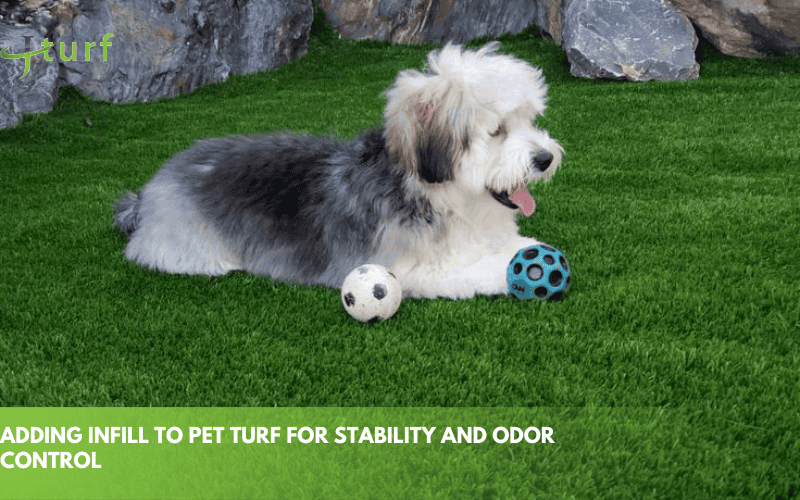
Infill is the final step in installing pet turf. It serves a few important purposes: it helps keep the grass blades upright, supports the turf’s structure, and enhances drainage.
Types of Infill for Pet Turf
- Antibacterial Sand: This is the most common infill material, and it works well for pet turf because it helps reduce odors and prevent bacterial growth.
- Zeolite: This natural mineral is highly effective at absorbing odors, making it perfect for areas where pets often relieve themselves.
- Crumb Rubber: This is another infill option, but it’s less common for pet turf. While it helps the turf blades stay upright, it may not offer the same level of odor control as sand or zeolite.
How to Evenly Distribute the Infill: To apply the infill, pour it evenly across the turf surface. You’ll require 1-2 pounds of infill per square foot. After spreading it, use a stiff broom or brush to work the infill evenly into the turf fibers. Be sure to evenly distribute the infill, ensuring that it settles between the blades to keep them upright. Brush the turf thoroughly to spread the infill evenly and ensure the best results.
By following these steps, you’ll create a comfortable, stable, and pet-friendly artificial grass surface that will withstand the wear and tear of your furry friends for years to come.

Maintaining Your Pet Turf
Pet turf is a durable and low-maintenance solution for your furry friend, but like any surface, it still requires care to keep it in top shape. Regular maintenance will ensure that your turf lasts for years while staying clean, odor-free, and safe for your pets.
How Long Does Pet Turf Last?
The lifespan of pet turf typically ranges from 10 to 15 years, depending on factors like the quality of the turf, the amount of use it gets, and the climate in your area. High-quality turf with proper installation and regular maintenance can last even longer. To maximize its lifespan, it’s important to follow regular cleaning and maintenance practices, which will keep it in good condition and looking fresh.
Regular Cleaning Practices
To keep your pet turf looking great and free from odor, regular cleaning is essential. Here’s how to maintain it properly:
- Rinsing: Regularly rinse the turf to remove pet urine, dirt, and debris, helping keep it clean and prevent bacteria buildup.
- Brushing: Use a stiff broom to brush the turf fibers in the direction of the blades, preventing matting and maintaining a natural look. This also redistributes the infill to keep the blades upright.
- Sanitizing the Surface: Occasionally use a pet-safe disinfectant to eliminate bacteria and odors, ensuring the turf stays hygienic and fresh.
Related Reading: How to clean pet turf
How to Prevent Odor Build-Up and Bacteria Growth
- Proper Drainage: Ensure the drainage system works properly. Pooling water or urine can lead to odors and bacteria. Regularly check your turf and fix any drainage issues promptly.
- Use Antibacterial Infill: Infill options like antibacterial sand or zeolite can reduce odors and prevent bacteria growth. If your turf doesn’t have it, consider adding it to enhance hygiene.
- Prompt Waste Removal: Clean up after your pet immediately. Pick up solid waste daily, and rinse urine spots quickly to prevent them from soaking into the turf.
Tips for Keeping Your Pet Turf Looking New for Years
Avoid Chemicals: Use pet-safe, turf-friendly cleaning products to avoid damaging the fibers or infill. Steer clear of harsh chemicals that could harm the surface.
Trim the Turf if Needed: If some fibers become frayed or worn, especially in high-traffic areas, gently trim them to keep the turf looking neat and fresh.
Protect from Heavy Traffic: Limit heavy furniture or equipment on the turf to prevent fiber compression. Use mats or temporary coverings during events to protect the surface.
Regular Inspections: Periodically check for wear or damage, and address issues like lifting turf or drainage problems promptly to maintain the turf’s quality.
With a little effort, you’ll be able to enjoy a beautiful, hassle-free outdoor space for your dog to play in.
Cost of Installing Pet Turf
What You’re Paying For
The cost of installing pet turf covers materials, labor, and maintenance.
- Materials: Turf prices vary depending on quality and type, typically ranging from $2 to $6 per square foot. Higher-quality turf, designed to withstand heavy pet use and provide better drainage, will cost more upfront but is more durable in the long run.
- Installation: Professional installation typically costs between $4 and $10 per square foot. This includes the expertise needed to properly prepare the area, install a solid base, and ensure effective drainage. While a DIY installation cuts labor expenses, it demands significant time and dedication to guarantee professional-quality results.
- Maintenance: Pet turf is relatively easy to maintain, but it does require some attention. On average, maintenance costs are between $100 and $300 per year, mainly for replenishing infill, cleaning products, and occasional repairs. The good news is that pet turf requires far less work than maintaining natural grass, which means less hassle and expense.
Factors Influencing the Price
- Size of the Area: The bigger the area, the more it costs. Larger spaces need more turf, base material, and labor, so the price goes up.
- Turf Quality: Premium pet turf is more expensive but often more durable and comfortable for your pet. It also provides better drainage, which is essential for preventing odors and bacteria. If your pet turf is going to be used heavily, it’s worth investing in a higher-quality option to avoid future issues.
- Installation Complexity: If your yard requires extra preparation—such as dealing with uneven surfaces, removing existing grass, or setting up specialized drainage systems—installation costs will increase. The more complex the project, the more labor and materials will be needed.
Is pet turf worth it?
Yes. While the upfront cost of pet turf can be significant, it’s important to think of it as a long-term investment. High-quality turf and professional installation will last for years, providing your pets with a safe and comfortable area to play on. Additionally, the low maintenance requirements of pet turf will save you time and money compared to traditional grass, which needs frequent watering, mowing, and fertilizing.
Ultimately, investing in durable, well-installed pet turf is worth the extra cost. It ensures your yard remains clean, odor-free, and durable—perfect for your pets to enjoy without the hassle of constant upkeep.
Ready to Build the Perfect Pet Turf? We’re Here to Help
Installing pet turf yourself is a smart and rewarding choice — it saves costs, gives you full control, and lets you create the perfect environment for your dog.
At JCturf, we’re here to support every step of your project. Whether you’re looking for high-performance turf materials to complete your own installation, or need professional advice on base preparation, drainage solutions, or long-term maintenance, our team is ready to help.
- Durable, pet-safe turf engineered for heavy use.
- Expert tips to simplify your DIY process.
- Flexible support — from materials to full installation services.
Start building your cleaner, safer backyard today. Contact JCturf for a free consultation or explore our pet turf collection built for real-life pet lovers.
Your project, your pace — with the right turf from the start.
